
Faculty can request a webpage on the Drupal web platform for hosting their curriculum vitae (CV). Once the faculty page is created, it will be listed in the Faculty Web Directory. For information on how to request a faculty webpage, visit the Web Development and Hosting page.
How-to Guides
Below are step-by-step instructions on how to edit your faculty webpage on Drupal.
When you log in to Drupal, you will be directed to your profile page which includes a link to your faculty webpage. You will also see the administrative toolbar and shortcut bar at the top of every page.
To log in:
- Go to www.calstatela.edu/login.
- Log in with your MyCalStateLA ID account.
When a new faculty webpage is created, it includes basic information (your name, college, department, and email). You can edit your faculty webpage to add additional information. Only you can edit your own faculty webpage.
To edit your faculty webpage:
- Go to your faculty webpage and click the Edit tab.
- Make the desired changes.
- Click the Save button.
Drupal includes a Text Editor which makes it easy to create and edit content without writing code. Pointing to a button on the Text Editor toolbar displays its name in a tooltip.
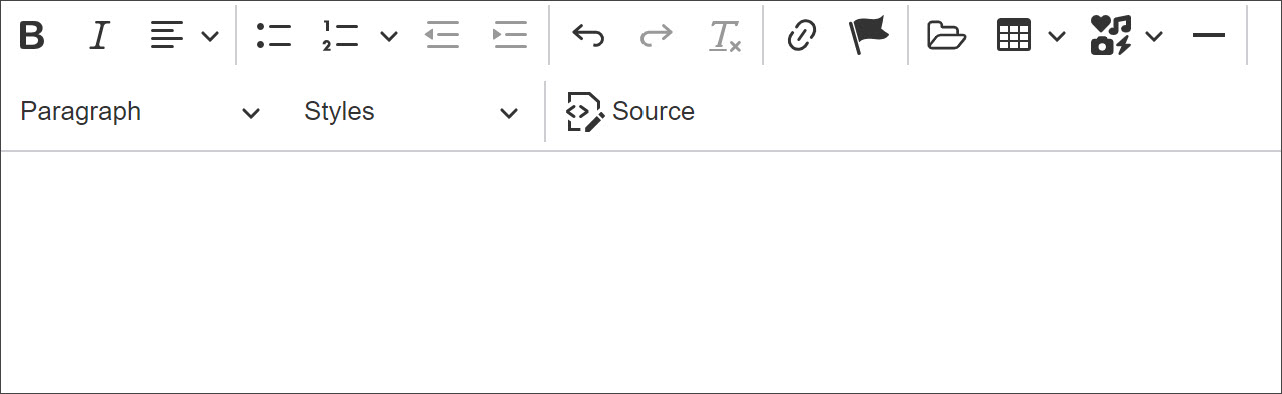
The Link button on the Text Editor toolbar can be used to create a link to a page or an email address.
- In the Text Editor, select the text you want to link.
- Click the Link button on the toolbar.
- In the Link URL field, enter the URL of the page you want to link to.
- Click the Save button .
 on the toolbar.
 .
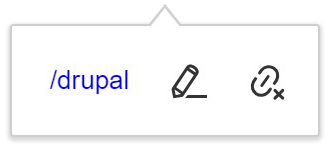
.NOTE: You can edit or remove a link by clicking the link text and selecting the desired option on the shortcut menu.
- In the Text Editor, select the text you want to link.
- Click the Link button on the toolbar.
- In the Link URL field, enter mailto: followed by the email address (e.g., mailto:[email protected]).
- Click the Save button .
The Table button on the Text Editor toolbar can be used to add a data table. Tables should not be used for page layouts. To make tables accessible, make sure to designate column and/or row headers.
To add a table:
- In the Text Editor, click where you want to add the table.
- Click the Table button on the toolbar, move the cursor over the grid until you highlight the number of columns and rows you want, and then click to insert the table.
- To add content to the table, click in each cell and enter data.
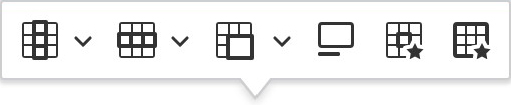
- To designate column and/or row headers, click in the first cell of the table, and then do the following:
- To designate a header column, click the Column button on the shortcut menu, and turn the Header column toggle on.
- To designate a header row, click the Row button on the shortcut menu, and turn the Header row toggle on.
 on the toolbar, move the cursor over the grid until you highlight the number of columns and rows you want, and then click to insert the table.
 on the shortcut menu, and turn the Header column toggle on.
 on the shortcut menu, and turn the Header row toggle on.
NOTE: The shortcut menu that appears when you click in a table allows you to add or remove columns and rows, merge or split cells, toggle the caption on and off, and change the properties of individual cells or the entire table.
You can add a profile photo to your faculty webpage. The photo will display below the page title.
To add a profile photo:
- Click the Media tab.
- Under Profile Photo, click the Add media button.
- In the Add or select media window, click the Choose File button, locate and select the image you want to upload, and then click the Open button.
- Enter a short description of the image in the Alternative text field, and then click the Save button.
- The image will automatically be selected. Click the Insert selected button.
You can link to your curriculum vitae (CV) document on your faculty webpage. Once you add your CV document, a link will automatically appear below your profile details.
To add a CV document:
- Click the Media tab.
- Under Curriculum Vitae, click the Add media button.
- In the Add or select media window, click the Choose File button, locate and select the document you want to upload, click the Open button, and then click the Save button.
- The document will automatically be selected. Click the Insert selected button.
Design blocks are predesigned sections of content that you can add to your faculty webpage. You can choose the design blocks you want to add and the order in which to place them. Design blocks display below the main content on the published page.
- Click the Design Blocks tab.
- Click the arrow on the Design Blocks drop-down list and select the design block you want to add.
- Enter content in the design block fields.
- Repeat steps 2 to 3 to add additional design blocks.
- Click the Design Blocks tab.
- Locate the design block you want to move, and then drag the move icon up or down to move the design block to its new location.
- Click the Design Blocks tab.
- Locate the design block you want to edit, and then click the Edit button.
- Expand Content or Settings, and make the desired changes.
- Click the Design Blocks tab.
- Locate the design block you want to remove, click the vertical ellipsis icon and select Remove from the menu.
When you finish editing your faculty webpage, you should log out of Drupal and close the web browser window.
To log out:
- Click your username on the administrative toolbar.
- Click Log out on the shortcut bar