

The following procedure must be done while logged-on as an administrator.
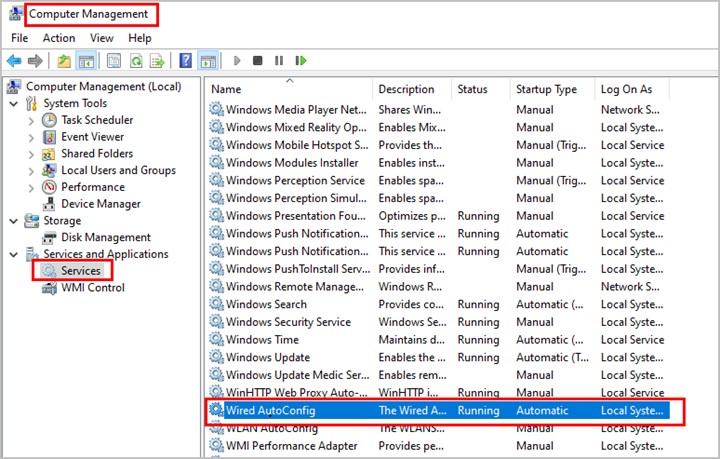
- Right-click Windows icon > Computer Management > Services and Applications > Services > Wired AutoConfig > Change Startup Type to Automatic > Start the service (or reboot the machine).
- Right-click on the network icon in the System Tray (bottom right) and select Open Network & internet settings (this can also be accomplished via Control Panel).
- Click on Ethernet > Change adapter settings.
- Right-click on Local Area Connection and select Properties.
- Select the Authentication tab.
- On the Authentication tab > Click on Additional Settings… > Click the checkbox for Specify authentication mode and make sure it is set to User or computer authentication > click OK.
- On the Authentication tab > click on Settings for Choose a network authentication method: > Un-check Verify the server’s identity by validating the certificate for When connecting: > Click on Configure…
- If it is not already checked, check Automatically use my Windows logon name and password (and domain if any) > click OK.
- Reboot the system and log in using an AD account.