Importing and Migrating Courses
Import content from a past term to reuse course materials. Import the entire course or select specific items to migrate.
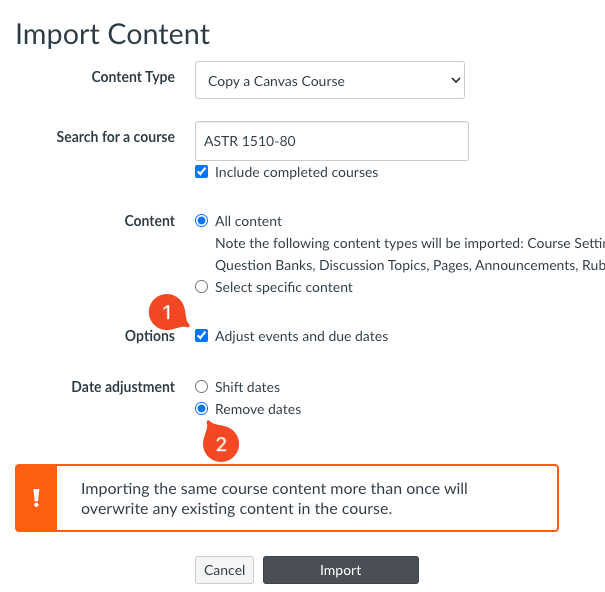
How do I select specific content as part of a course import?
Avoid this common issue: Automatic grading results in a score of zero (0).
Issue:
When importing course content in Canvas, Gradebook settings carry over. This can lead to automatic grading policies being applied prematurely to assignments with deadlines from a past term.
For example, the Gradebook setting "Automatically apply grade for missing submissions" results in a student receiving a score of zero(0) based on an assignment date imported from the previous semester.
Solution:
When performing an "Import Course Content", use the “Adjust Events and Due Dates" option. Remove dates or shift dates to the appropriate timeframe for the upcoming semester.
When teaching two or more sections of the same course, consider building your course in one course shell, then copying into other course shells.
Canvas recently implemented the direct share feature. You can use this to put an assignment, page, discussion, or quiz directly into another course and even into a module in the other course. You can also share individual activities with another instructor.
How do I use Direct Share to copy an assignment to another course?
How do I use Direct Share to copy a quiz to another course?
How do I use Direct Share to copy a discussion to another course?
How do I use Direct Share to copy a page to another course?
How do I use Direct Share to send an assignment to another instructor?
How do I use Direct Share to send a discussion to another instructor?
How do I use Direct Share to send a page to another instructor?
How do I use Direct Share to send a quiz to another instructor?
Dashboard - Access your Courses
Courses in Canvas are created by the communication between Canvas' systems and our GET systems. This process is much more synchronos and therefore faster than in Moodle. Once in GET, enrollments and courses should be created within 24 hours and therefore be available to you. From there you will access your course through an interface Canvas call the Dashboard.
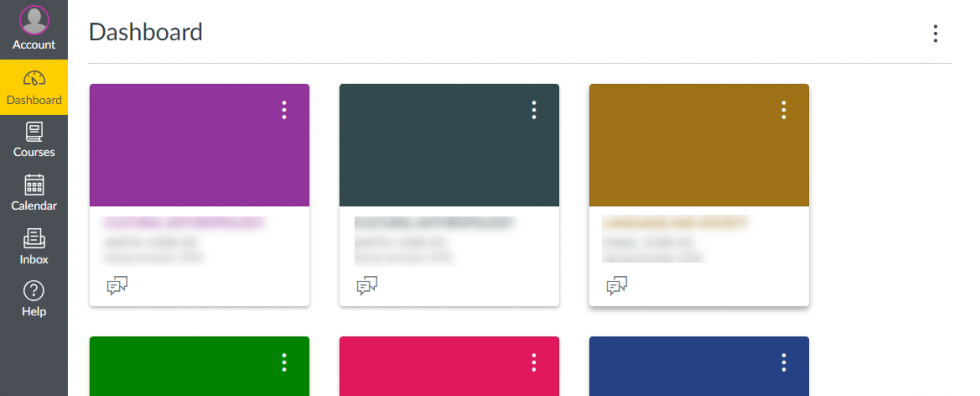
The Dashboard is your "home base" in Canvas. All users, students or instructors see their personalized Dashboard once logged in. The Dashboard's main interface are items called your Course Cards. These colored blocks will have your course's names, nicknames, and a few other alert information.
In Canvas once the semester is finished and grades have been turned in, the course will go into past courses and become read only. Courses will go away from your dashboard and put themselves into the all courses area.
- Select the Courses button on the left of your page in the Course Navigation.
- Click on the All Courses link.
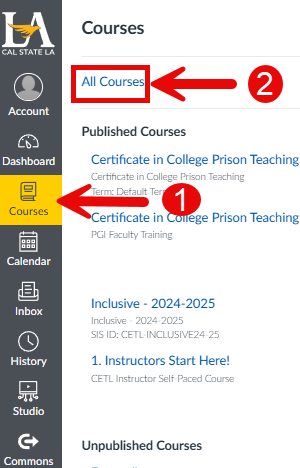
3. You may need to scroll down to see all of your courses
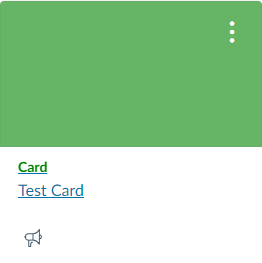
The Card View on your Dashboard displays course cards for your active and favorited courses. Thought these, you can nickname your course or assign it a different color, which will sync with your Calendar and how it displays this course. You're also able to move a course card to a different part of the Dashboard. For more information on course cards, explore these Canvas guides:
How do I view my courses in the Card View Dashboard as an instructor?
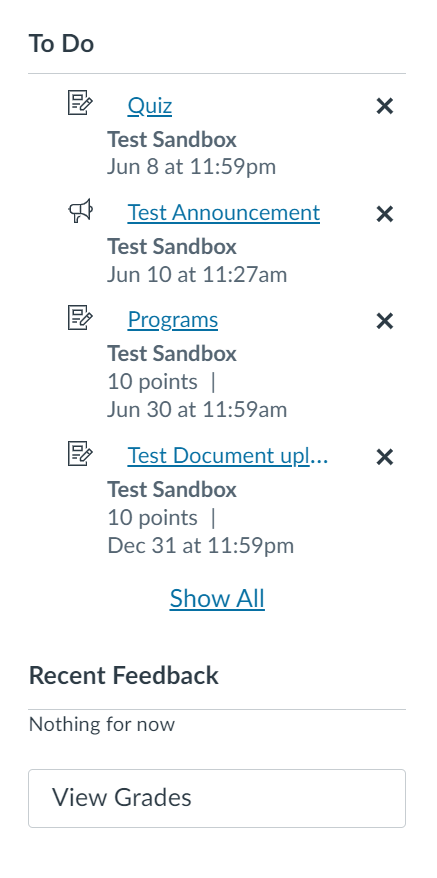
The Dashboard also has a display on the right of your screen for Global Announcements, a To Do List, and Coming Up. These alerts serve as a one-stop shop for immediate due assignments, quizzes, and other content, as well as a place to keep organized.
You can customize this interface by: Giving Course Nicknames, changing the colors of the Course Cards, applying images to the Course Cards, and setting favorites for your courses. For detailed steps on how to customize further use of the Dashboard, explore these Canvas Guides:
How do I use the Dashboard as an instructor?
How do I view course cards in the Dashboard as an instructor?
How do I use the To Do List and the sidebar in the Dashboard as an instructor?

In your Global Navigation, click the Courses link, then click the All Courses link.
Once all your courses are displayed, to favorite a course, click the star next to a course. Courses with filled stars show the course is a favorite.
In the Dashboard, any courses you have with an instructor role will be listed first, followed by TA roles and any other custom instructor-based roles. Your courses with student roles are listed last.
Note: When you favorite at least one course, the Dashboard will only display favorited courses. Canvas will also continue to automatically favorite new course enrollments.
In your Global Navigation, click on the Dashboard link.
Once all your Dashboard courses are visible, you can click and hold onto your desired Course Cards and move them by dragging and dropping them to your desired location in the Dashboard.
Canvas Commons and Course Templates
Canvas Commons is the Canvas home-grown share and share alike, Open Educational Resource (OER). That means the materials in Commons are available for anyone to use, edit, remix, repurpose, etc. They are great places to find ideas, get resources, and to quickly find ways to build out your course. As a bit of a buyer beware, remember these items are free and any University, College, K-12 school, or company that uses Canvas as an educational LMS can share their content here for anyone to use.
For more of an overview of the Canvas Commons, try these guides:
In our effort help you build faster, best-practice informed content in Canvas, the CETL team has made a series of templates for you to use.
To see a list of what we've made, explore our Commons Template Descriptions & Summary document.
For an overview of how to access Commons and bring over our templates, please click on Canvas Commons Import Guide, or watch our short video: Using Commons (6:01).
Analytics
Use New Analytics to:
- View average course grade analytics as an interactive chart graph or a data table
- Compare the course average with an individual assignment, course section, or student filter using the chart graph comparison or data table comparison
- View average weekly online participation analytics as an interactive chart graph or a data table
- Compare the course average weekly online participation analytics with an individual student or section using the chart graph comparison or data table comparison
- Send a message to all students based on specific course grade or participation criteria
- Send a message to an individual student based on specific course grade or participation criteria
- View course grade and participation analytics for an individual student
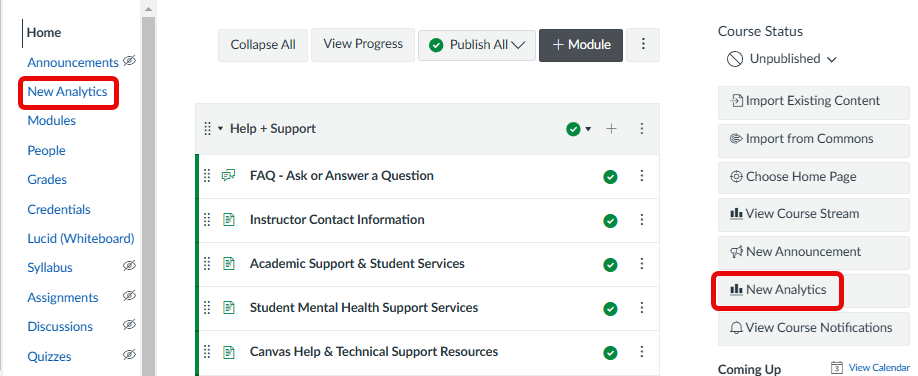
Starting Spring 2020 you will be able to access the new analytics tool using the New Analytics button in your course. You can enable this feature currently by going to your course Settings and toggling the option under the features tab.
Canvas Mobile Apps
Canvas has taken the time to create Mobile Applications for both Instructors (Teachers) and Students! There's even apps for parents, but we won't go there. You can download the apps either for iOS or Android devices from their respective app stores. Instructors can use the apps to view and grade assigments, do minor edits, and post announcements and discussions.
In your app store, type Canvas Teacher App in the search browser and download it! It's free!
Follow steps below to set up your app:
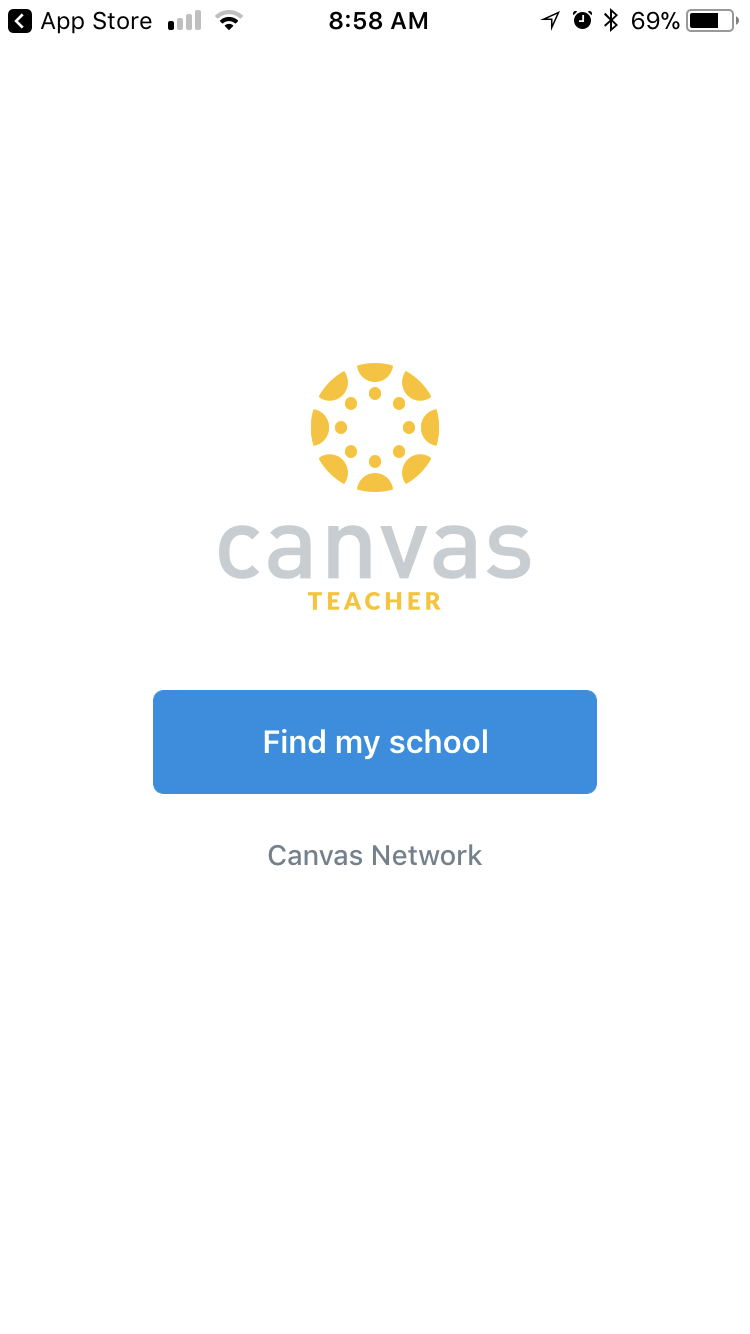
- Select the App on your smart device and open it.
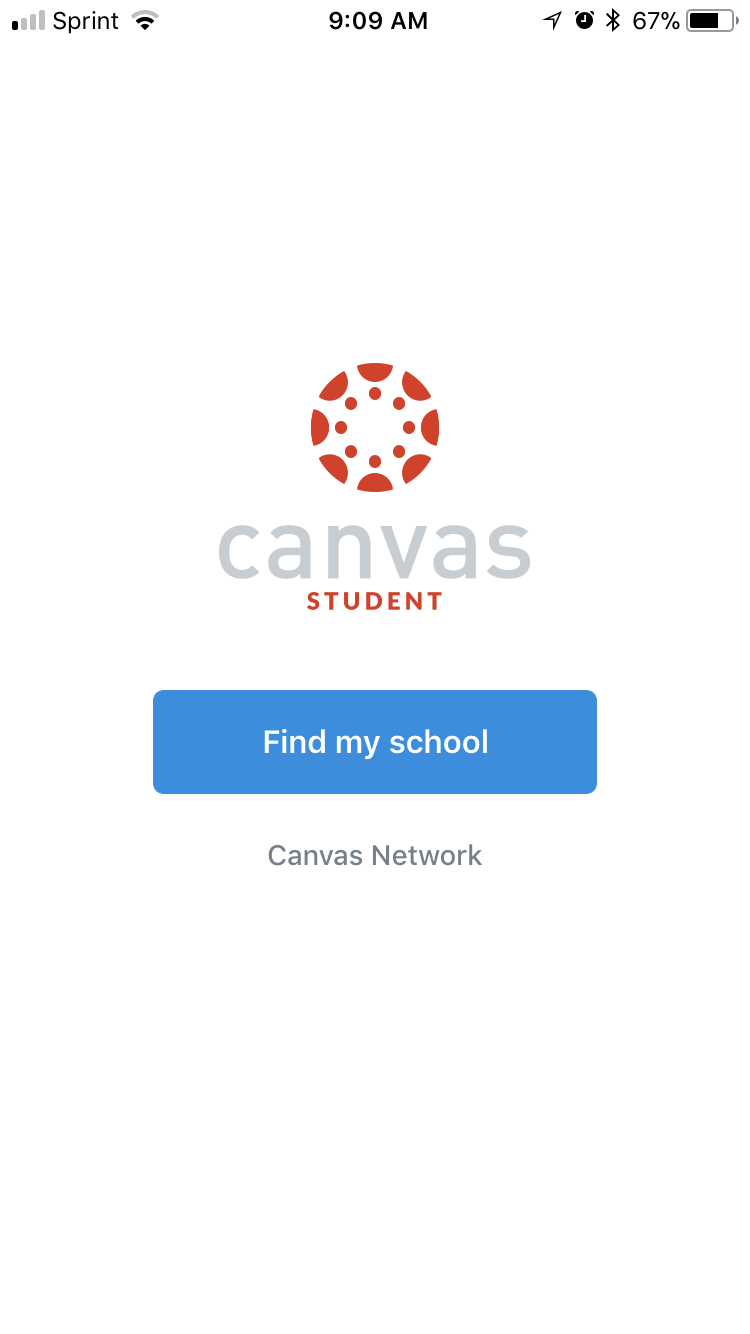
- The launch screen will prompt you with a Find My School Button, select it.
- As soon as you begin typing in CalStateLA, it will populate suggested fields, when you see CalStateLA, select that option.
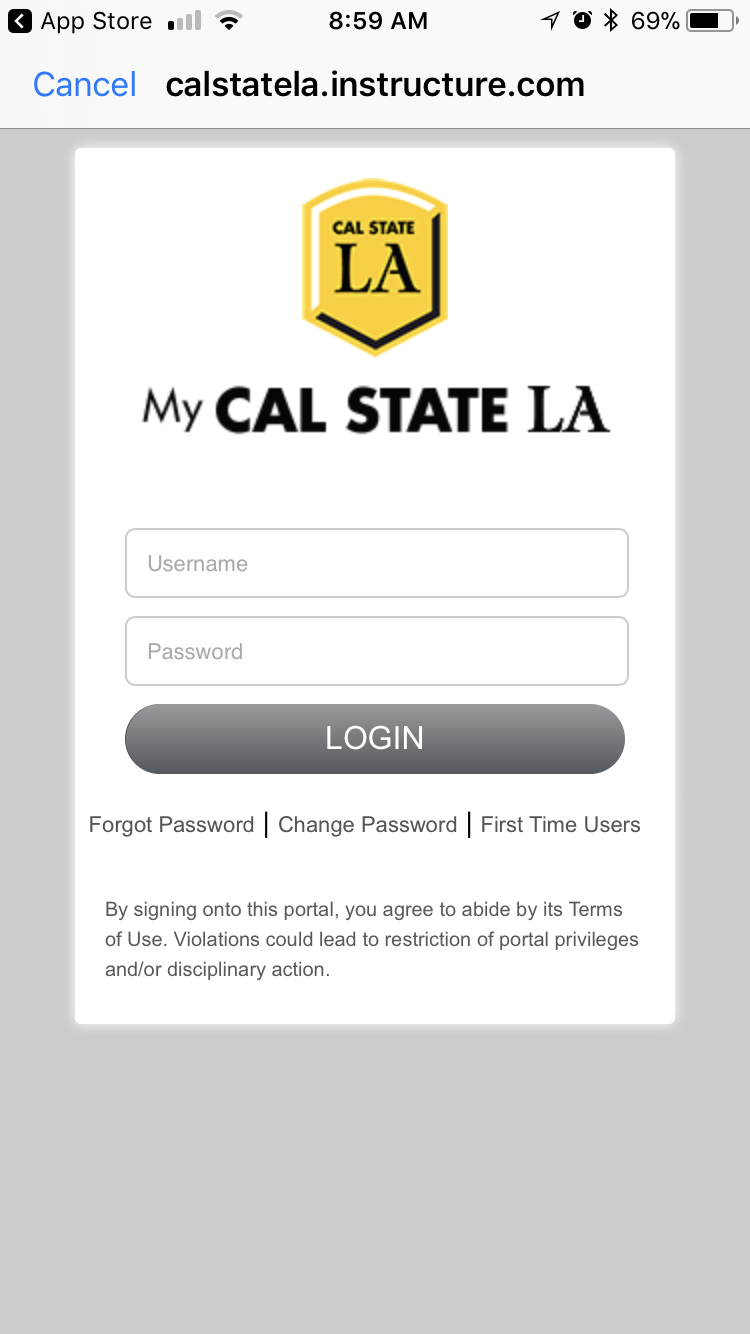
- You will then be prompted with the very familiar My Cal State LA login portal, use your normal credentials there and select Login.
- Your first course Welcome page will ask you to Add Courses or See All. Adding courses to the app at this point will designate them as your favorites, which will translate them to the only ones you see when you are logged into your desktop version of Canvas. It's recommended you select See All, that way you don't miss out on the desktop feature.
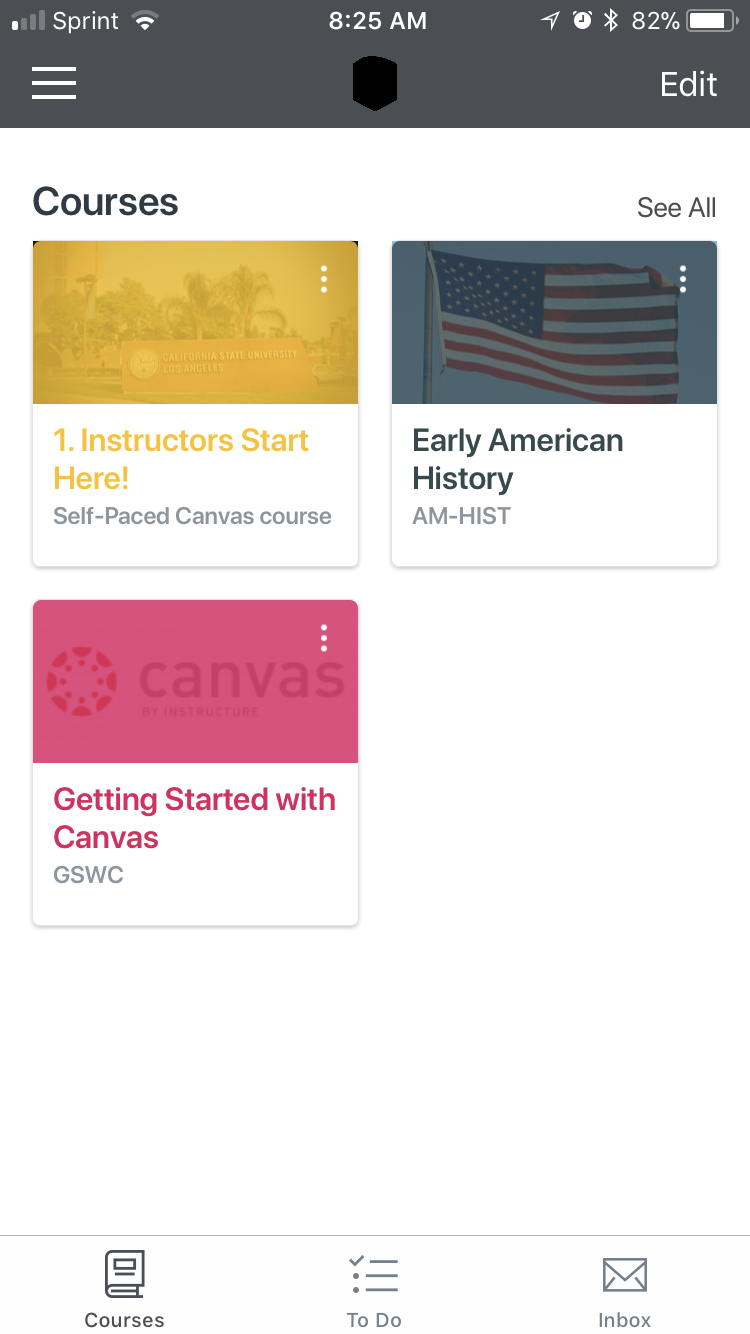
- Your final screen should land you on a mobile version of the Dashboard. Your course tiles as you've set them in Canvas will appear here for you to navigate through.


The Canvas Student App has a little more function, in the sense that students can take quizzes, submit assignments, view modules, and check their grades. The set up for students is exactly the same as for Instructors, their logo for the App, however, is red and says Student underneath Canvas' Logo and name.

Need Assistance?
Visit our Status Support page for updates regarding our services, common Canvas/Zoom troubleshooting issues, FAQ's, and our current Virtual Support office hours.